Pigeon Pose
Adrian Molina of Warrior Flow introduces Pigeon pose and a gentle hip-mobility series.
How often do you go to a hip-opening yoga class dreading that the teacher is going to call out Pigeon pose and have you stay there for what feels like forever? Well, unfortunately we won’t be avoiding it here either as there are a ton of great benefits to this posture. But what we’re going to focus on is making this posture more accessible, especially for those of you who experience discomfort while doing it. This month we’re bringing a bit more attention to Pigeon pose to share some helpful insights, preparatory movements and a variety of options in addition to the more traditional approach to this posture. Yoga students of all levels and experiences, especially those with active lifestyles outside of the practice such as running and cycling, look for ways to maintain healthy hip mobility and in a lot of cases increase their hip mobility based on symptoms of tightness or om body om body discomfort. Pigeon pose serves a variety of purposes but essentially it helps to stretch and release all of the external (outer) hip muscles and tissues.
For some, this release can feel quite intense and for others less so, but overall, this release helps to decrease tension around the hip and assists in decompressing the joint itself, when performed often. Since the quality of the tissues around the hip are so deeply connected to sensations we experience in our lower back, doing this posture, or one of its variations regularly, can also help to provide relief and release of tension in the lower back. Whether you’re a teacher, student or just love to move your body, check out the options below that we’ve put together. You’ll see a variety of approaches and ways in which you can start to work with your current level of flexibility and mobility as well as some tips and supporting movements to release tension around the hip joint. We’ve also included some modifications that will provide you with the same benefits but that are far gentler on the knees and hips.
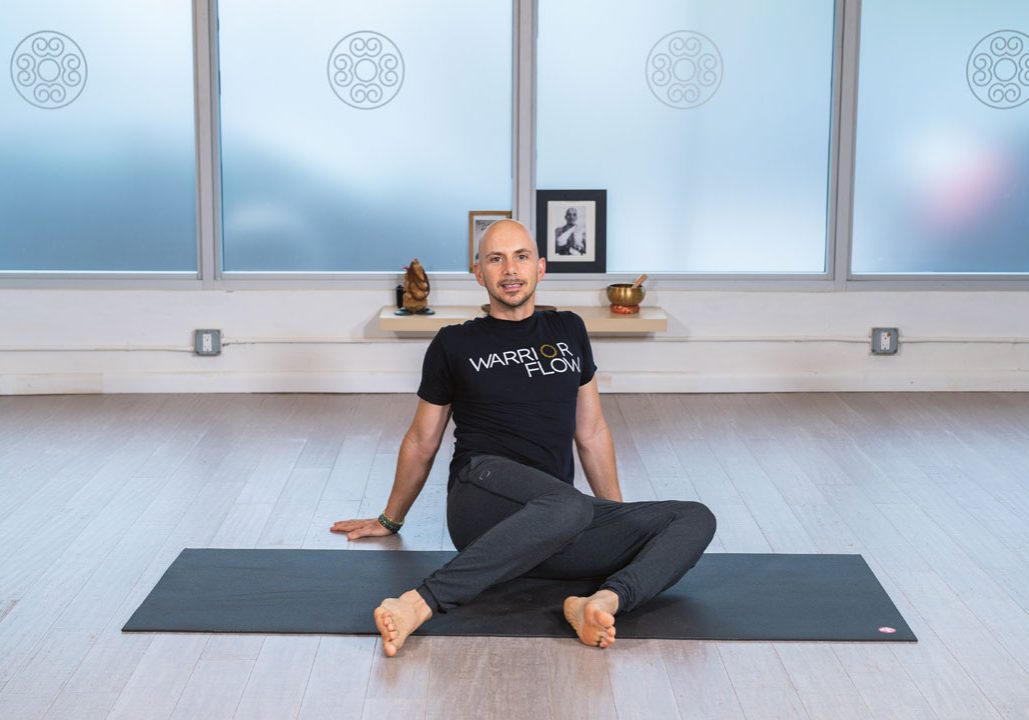
1. Rolling Exercise
Start seated with legs in front of you, knees bent, hands behind you supporting you, and feet on the floor. Let your knees roll side to side to massage your glutes and the fascia around them, and preparing this area for the following postures.
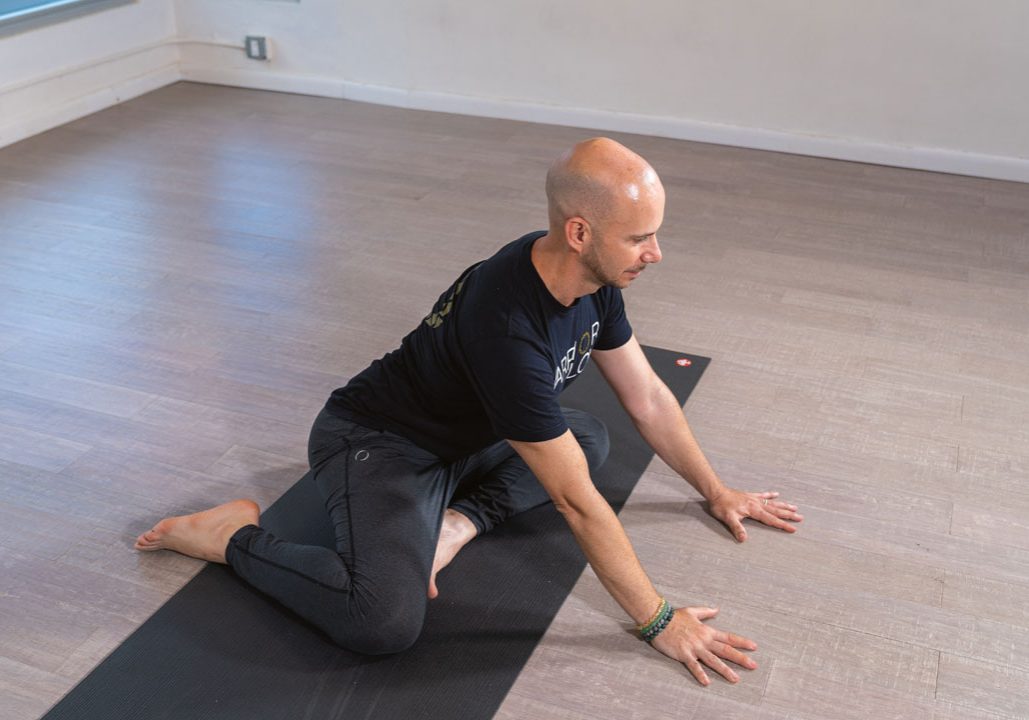
2. 90/90 Stretch
Once the area is warmed up by rolling, proceed to the 90/90 stretch, a seated variation of Pigeon pose, or Half Pigeon. Seated with one leg folded in front of you like pigeon, one folded behind you. Walk the hands forward to the point that you feel a mindful stretch
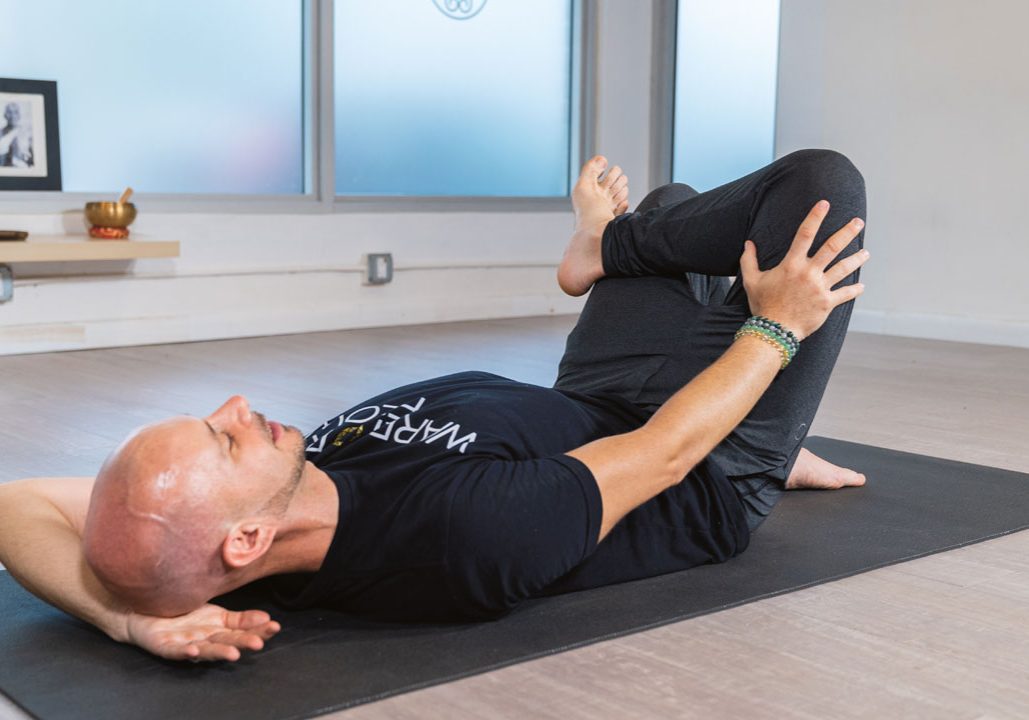
3a. Thread The Needle
Do this stretch lying on your back. Cross your right ankle over the left thigh. With your right hand you can gently press the right knee forward. Switch sides.
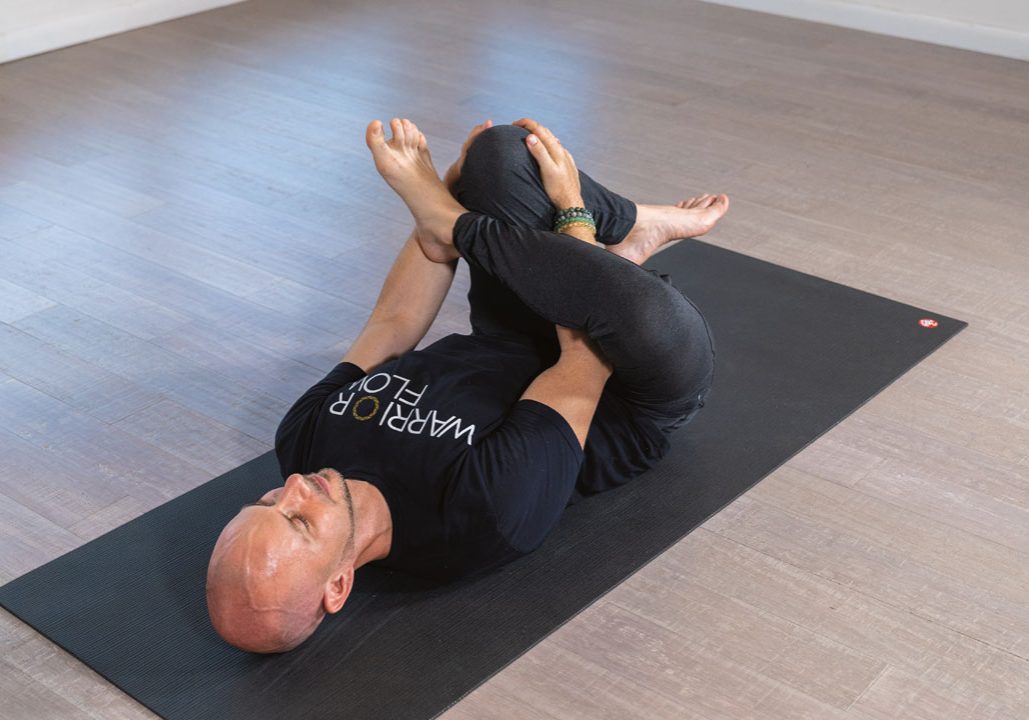
3b. Thread The Needle
Do this stretch lying on your back. Cross your right ankle over the left thigh. With your right hand you can gently press the right knee forward. Switch sides.
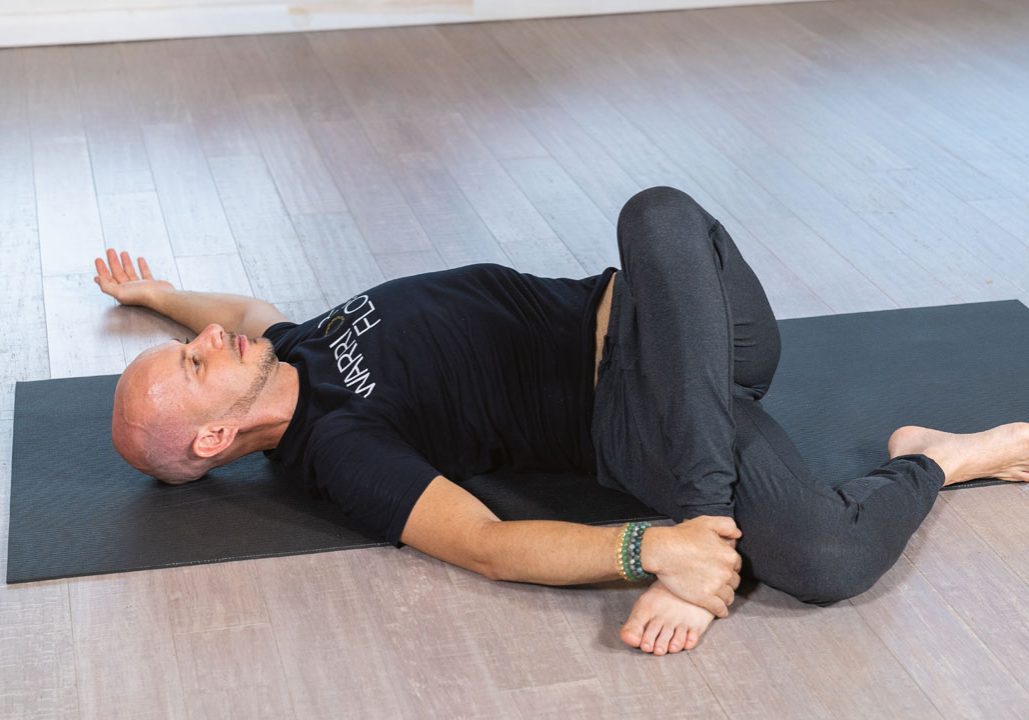
4. Thread The Needle With Twist
This stretch has all the benefits of Pigeon pose but without the added pressure on the front knee. Cross your right ankle over the left thigh. Reaching your arms out to the side, use your abdominal muscles to draw the legs closer to you and then gently rolling the legs to the left side to the point that you can hold the right foot with your hand. Allow the right knee to move away from you. Repeat on the opposite side.
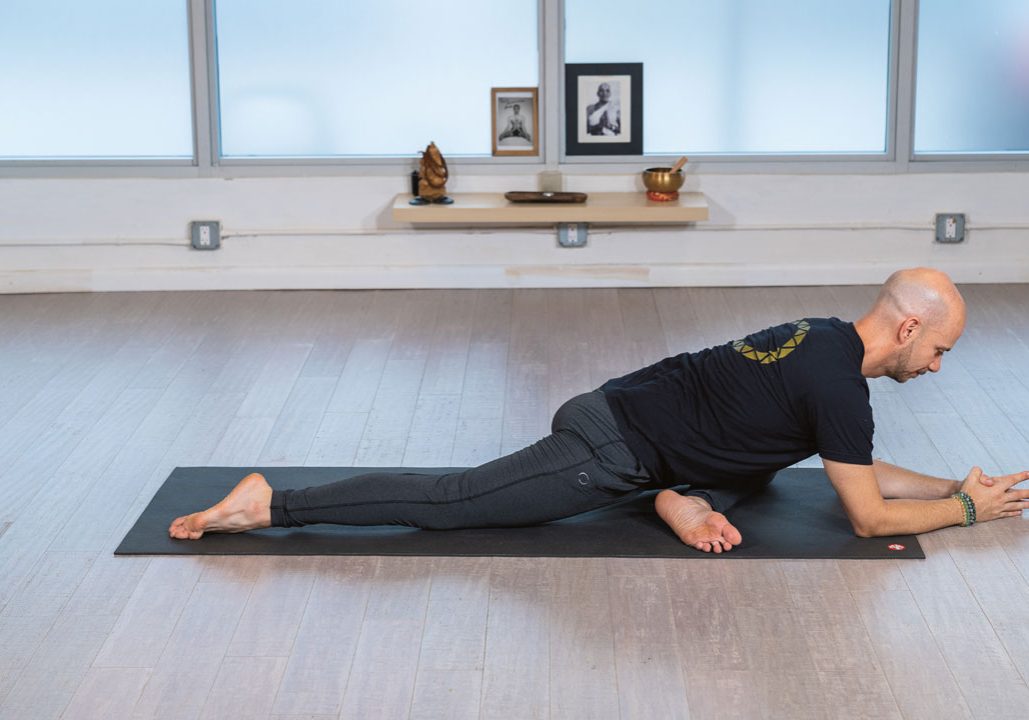
5. Modified Pigeon
This is an alternative to Pigeon that is more functional for the front knee because instead of externally rotating the hip you are sitting on your own heel and folding forward like Pigeon pose. You could also use a blanket under the knee, and/or a towel or blanket behind the knee cap to prevent the knee from compressing too much.
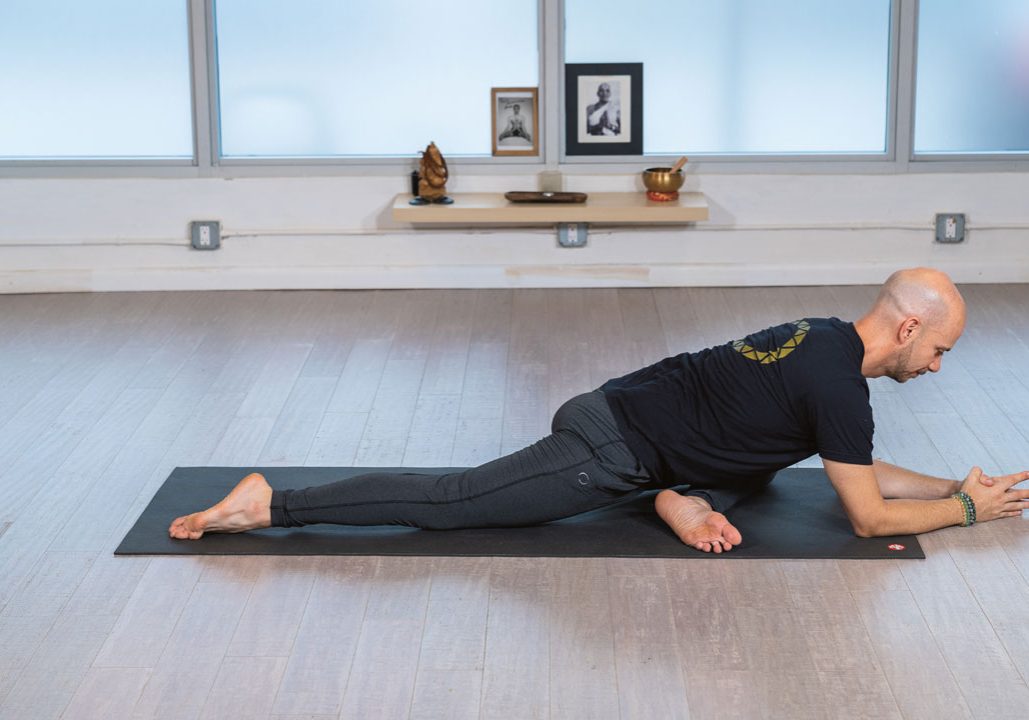
6. Traditional Pigeon Pose
Try this pose for one minute on each side. With the previous steps we’ve prepared you to hold the posture comfortably, so enjoy this beautiful hip opener.


