Seated twists
An insight into the power of the seated twist and its many modifications, with Kino MacGregor
This is a pose that is dedicated to the sage known as Matsyendranath. Sometimes people call this pose Half Lord of the Fishes. You can take some of those individual words, Matsya, meaning fish, and Ardha, meaning half, and contained in Matsyendranath is also the word for king, or ruler, and put them all together for quite a powerful posture.
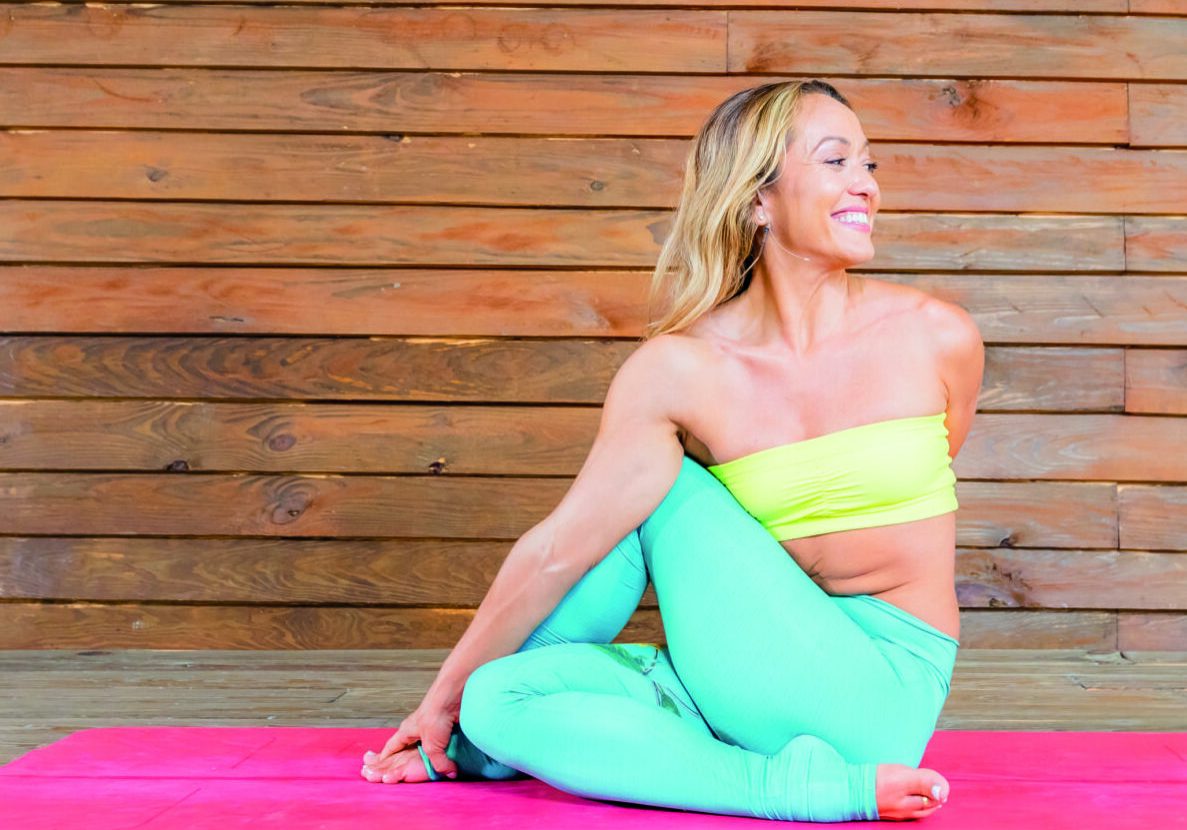
1. Seated Spinal Twist
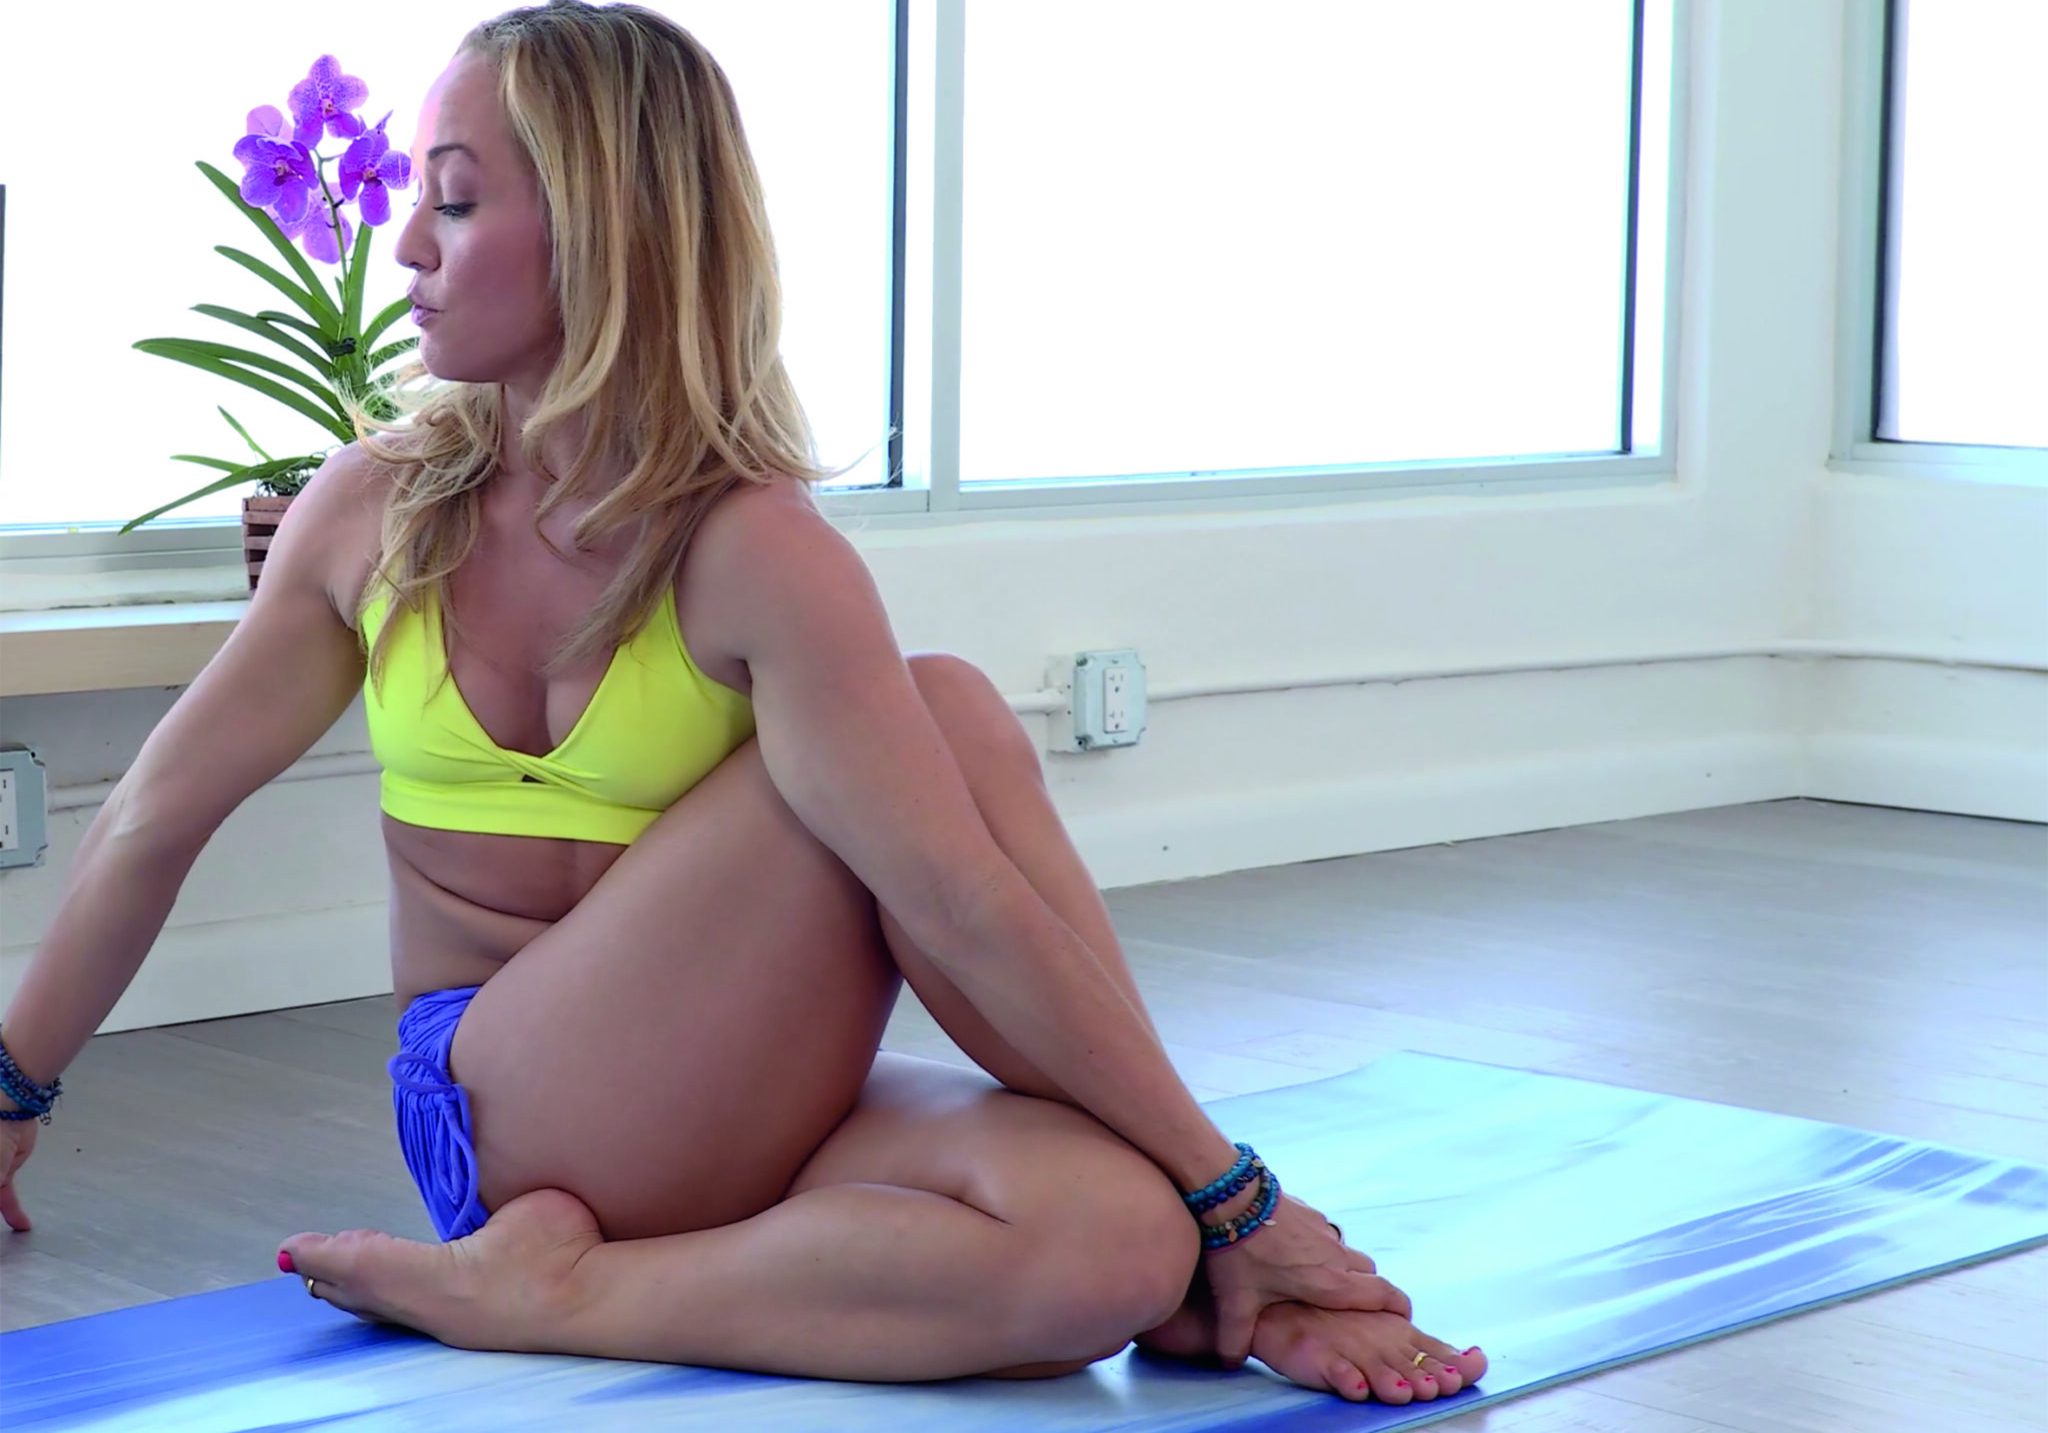
This seated spinal twist brings you into the centre of the body, and helps you access the deep space of the pelvic bowl. Foundation and Alignment: In a twisting posture, the hips are your foundation. You want to avoid twisting from the pelvis, and instead, empty out the pelvic bowl. Twist from the thoracic spine. In this posture, it’s very important. To enter the pose on the right side, fold your left knee underneath. You want to make sure that your knee feels good. If there is any discomfort in the knee, there is a modification (read on). Close the knee joint and bring it all the way in. You will notice that the knee lines up with the sternum. Right foot on top. Take a moment, and settle your hips in between the open place between your left foot and the left hip, both sitting bones are on the ground. You want to see both of the knees lined up along the centre line. Make sure that you can see your toes ahead of your right knee.
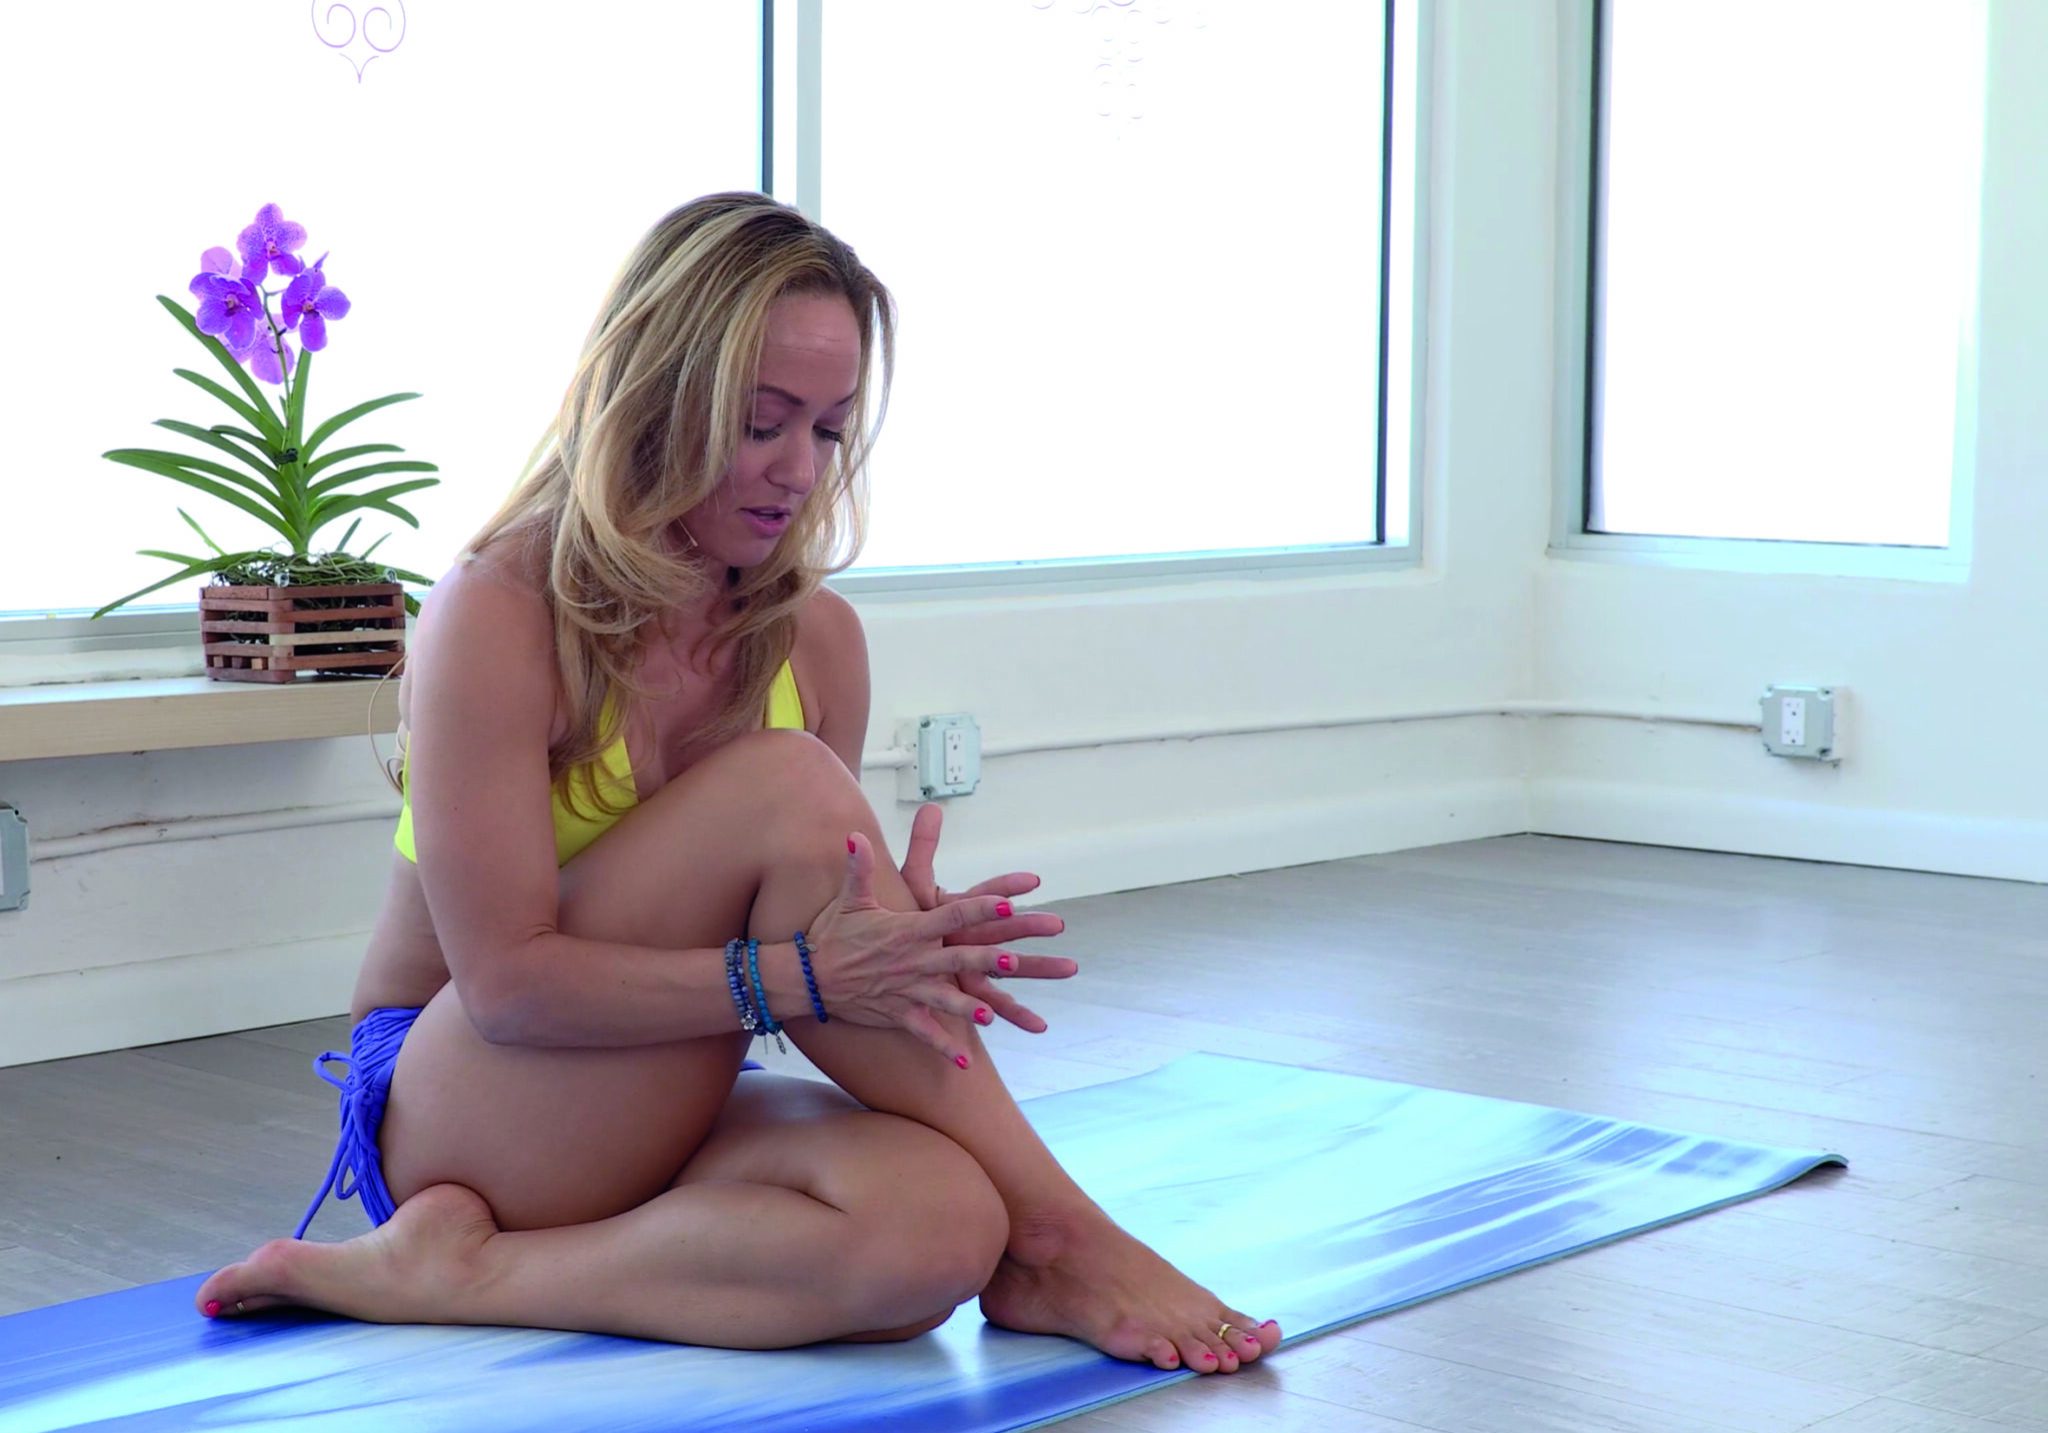
2. Entering The Twist
Inhale, as you suck the belly in. Drop the right hip down. Allow a gentle, internal rotation of the right hip. Hug your torso close to your thigh. Gently wrap your left arm around, holding onto the right side, looking over the right shoulder. Pointing the left foot, both sitting bones down, look over your right shoulder. This is nice and easy. If you don’t want to go any further, all is good. Pivoting Deeper: Slowly suck the belly in. Begin to lift the rib cage all the way around the right thigh. You can press on the thigh, and pivot around. Take your right hand on the ground. Drop the left shoulder in front of the right knee. Reach down. Hook the shoulder under, spinning the armpit, up. Grab the foot by spinning the armpit, down. If you can’t reach your foot, you can hold onto the knee, or leave your hand on the ground. Lift your chest up, keep your left shoulder down. Lifting the chest up, reaching around. The second option is simply to leave your right hand behind you, looking over the right shoulder.
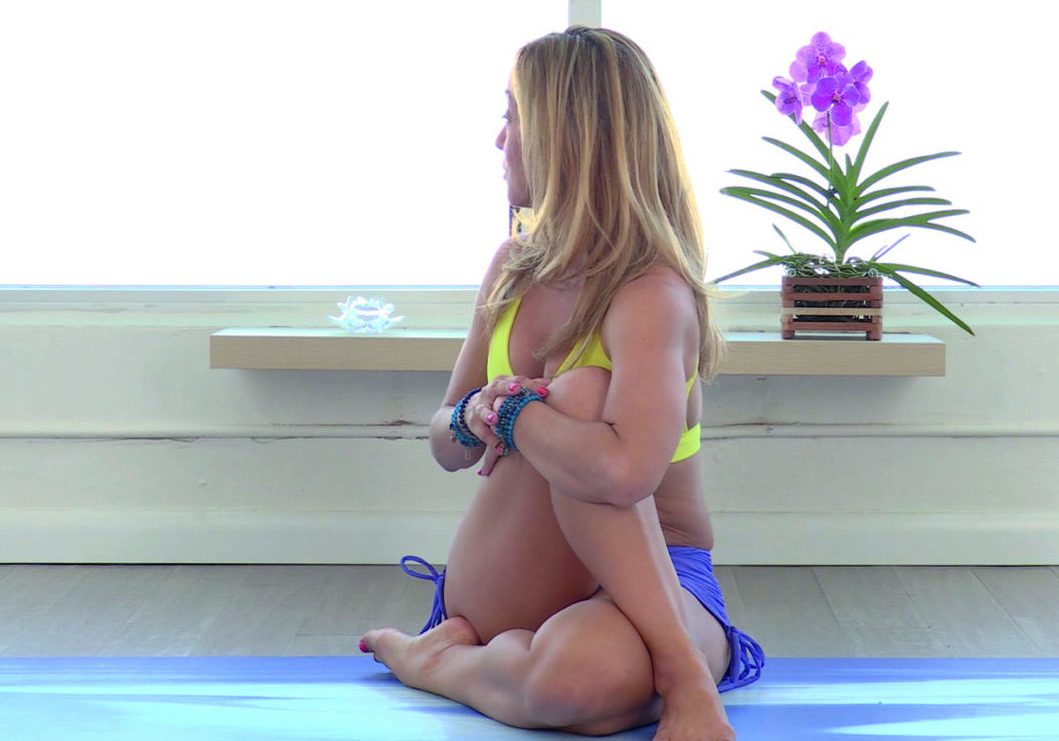
3. The Full Posture
If you feel comfortable, inhale, lift your chest up, and exhale. Reach around, taking your right hand and just kind of wiggle it around until you can find the top of the left thigh. Look over your right shoulder.
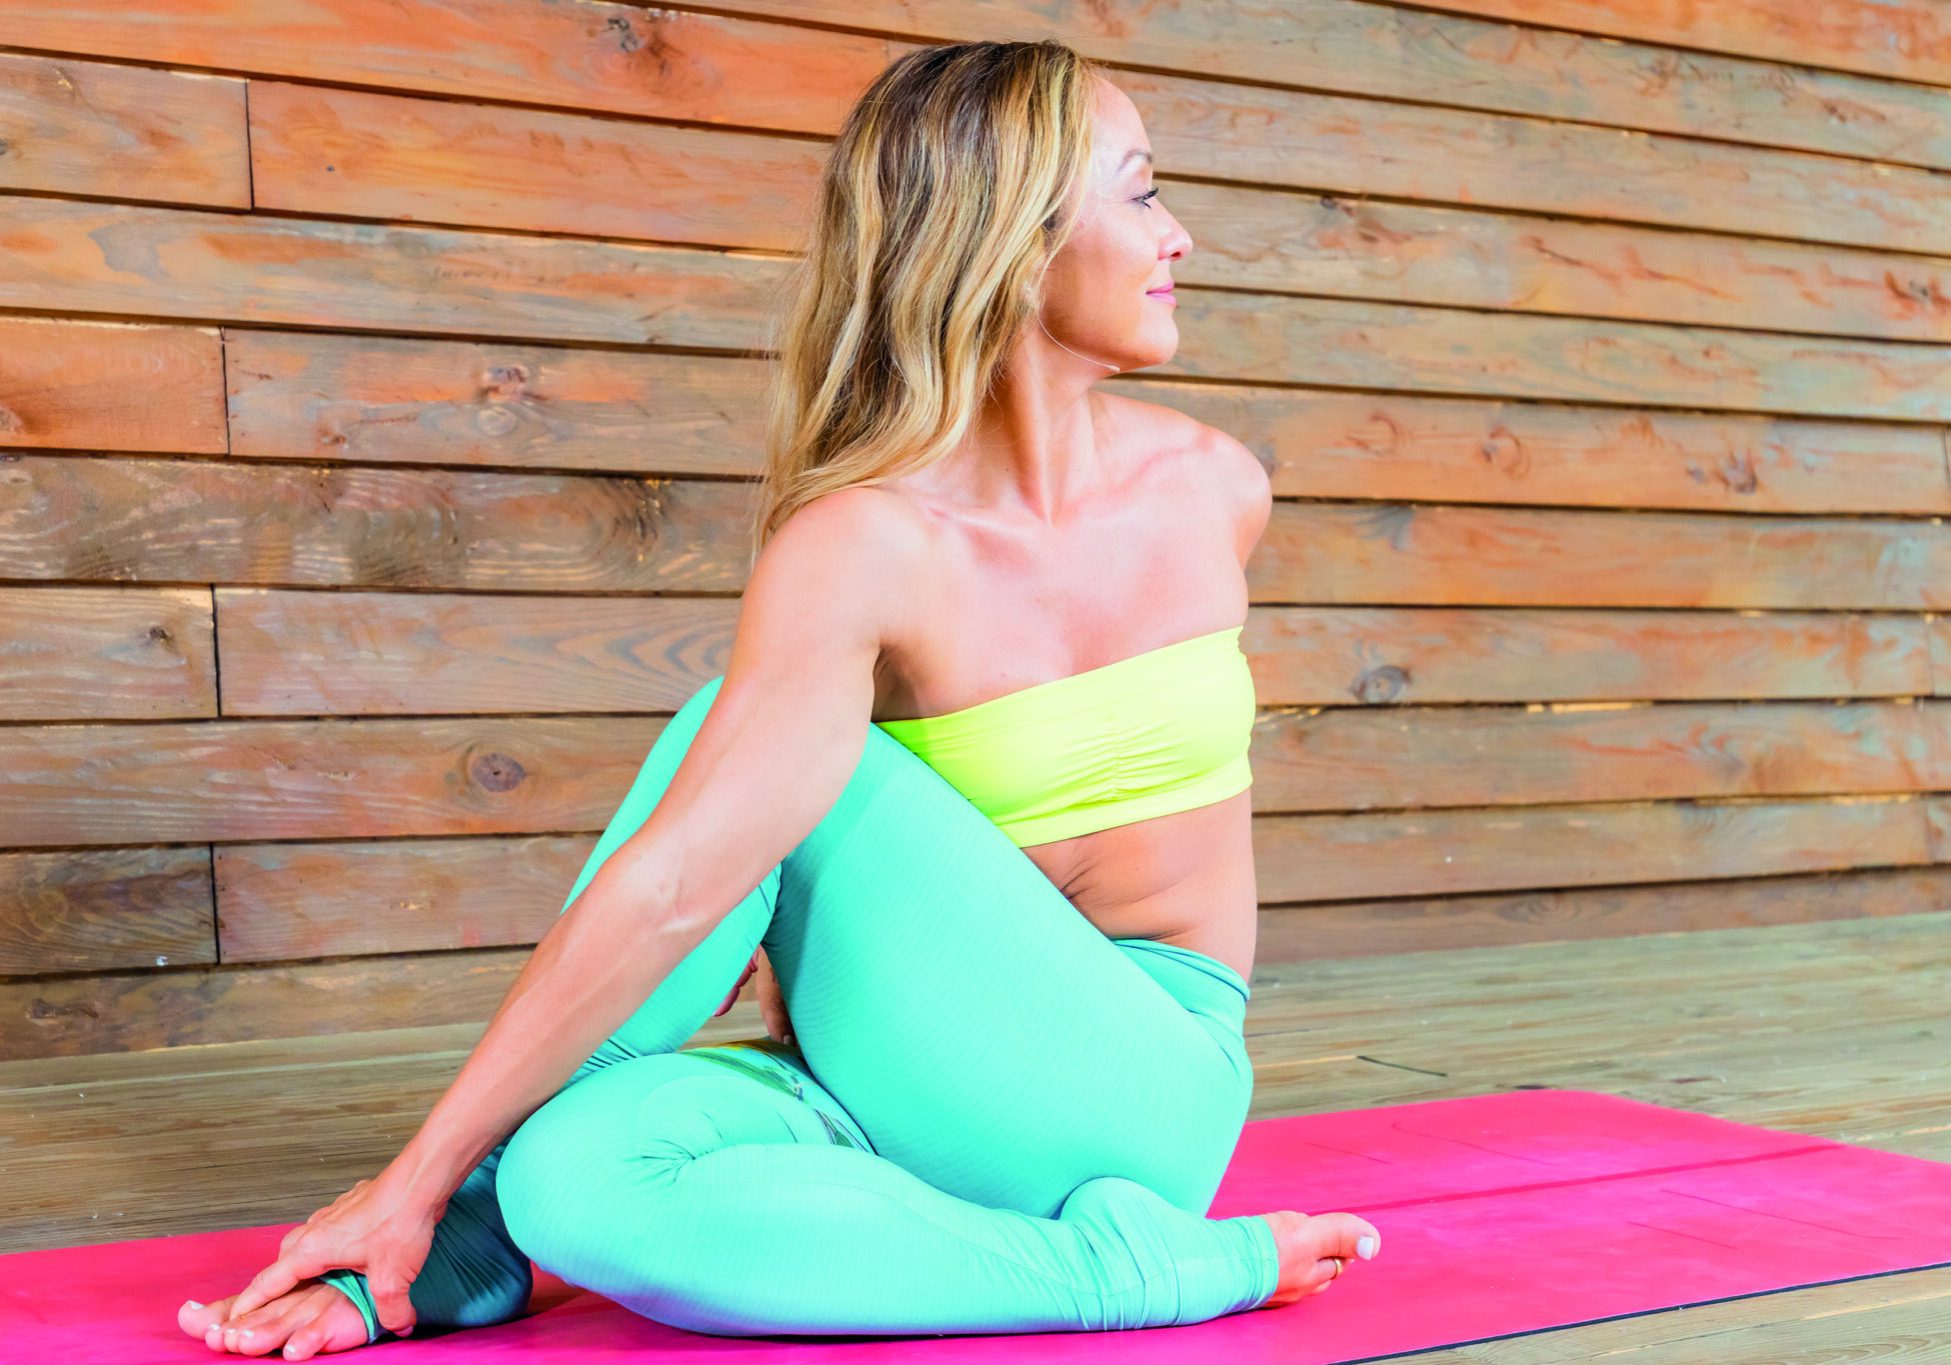
4. Modifying When Necessary
This is a way that you can repeat this pose, and relieve any burden that may be too stressed on your knee. Simply cross the foot over or keep it beside the straight leg, leaving a relatively big space. In this version of the posture, I would keep it relatively simple. Work on bringing your chest close to your thigh, and twisting along the centre line. Don’t worry about binding your hands.
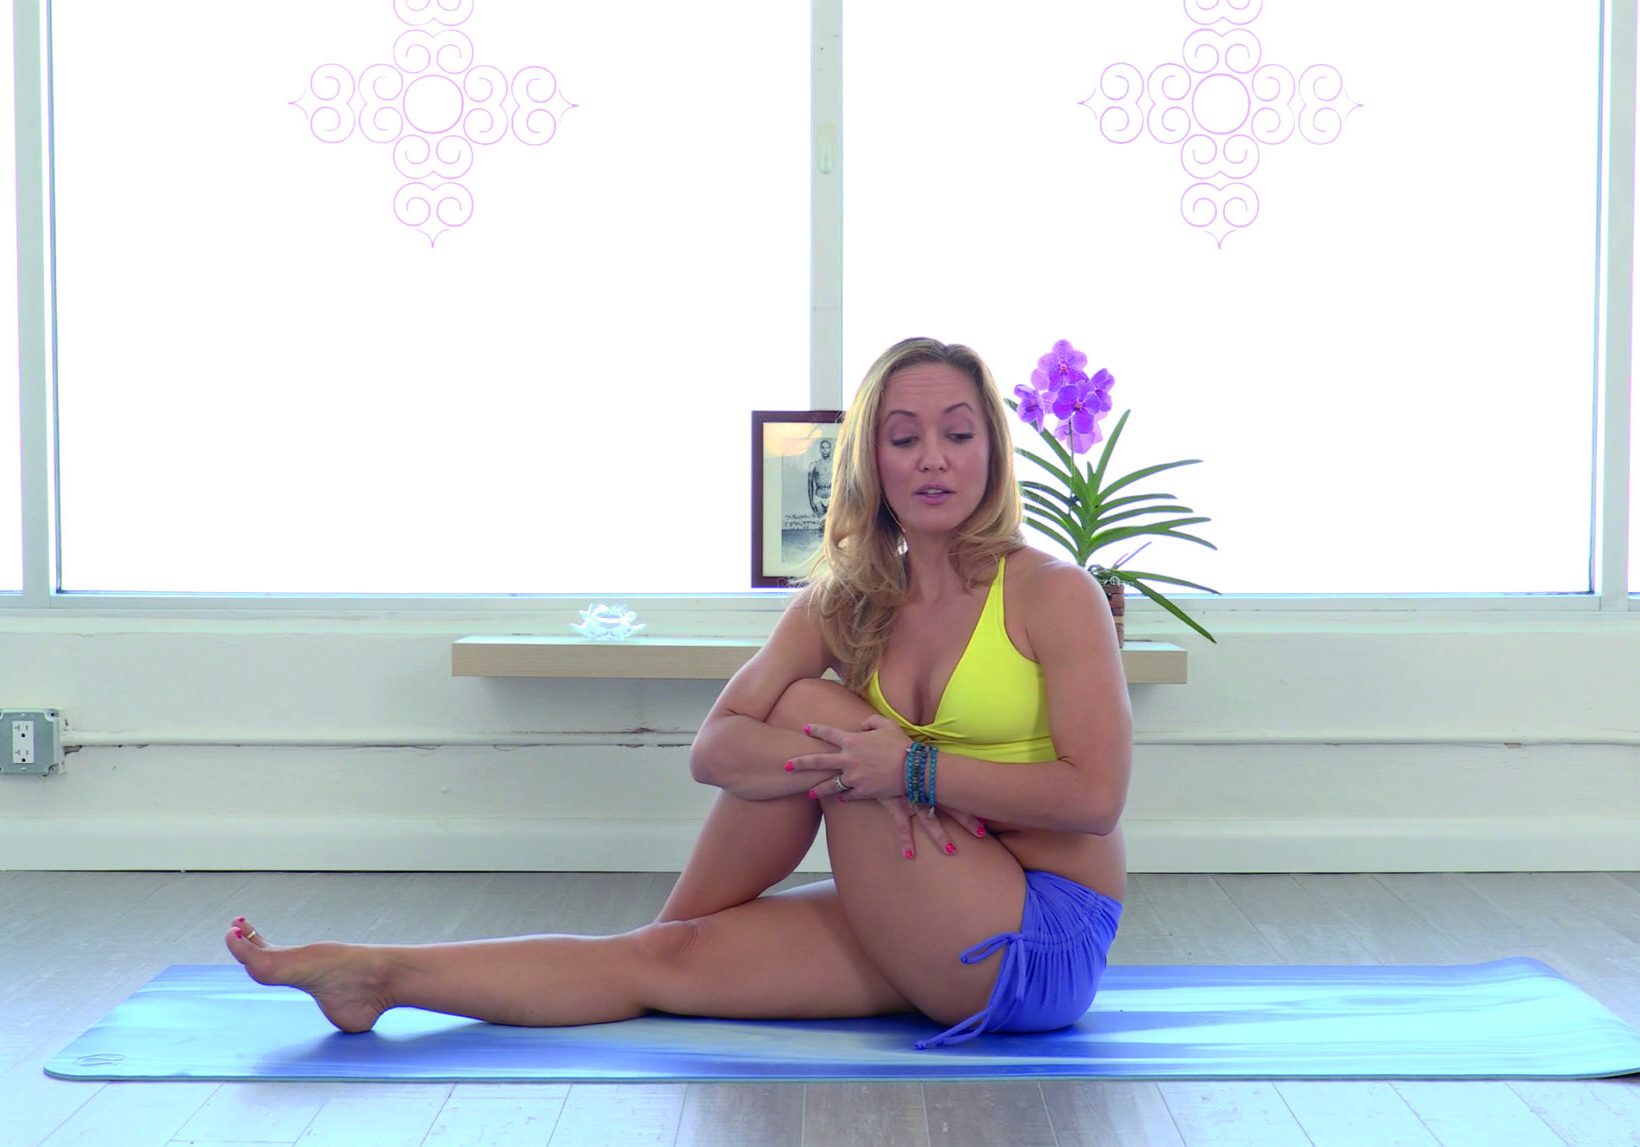
5. Modification 1
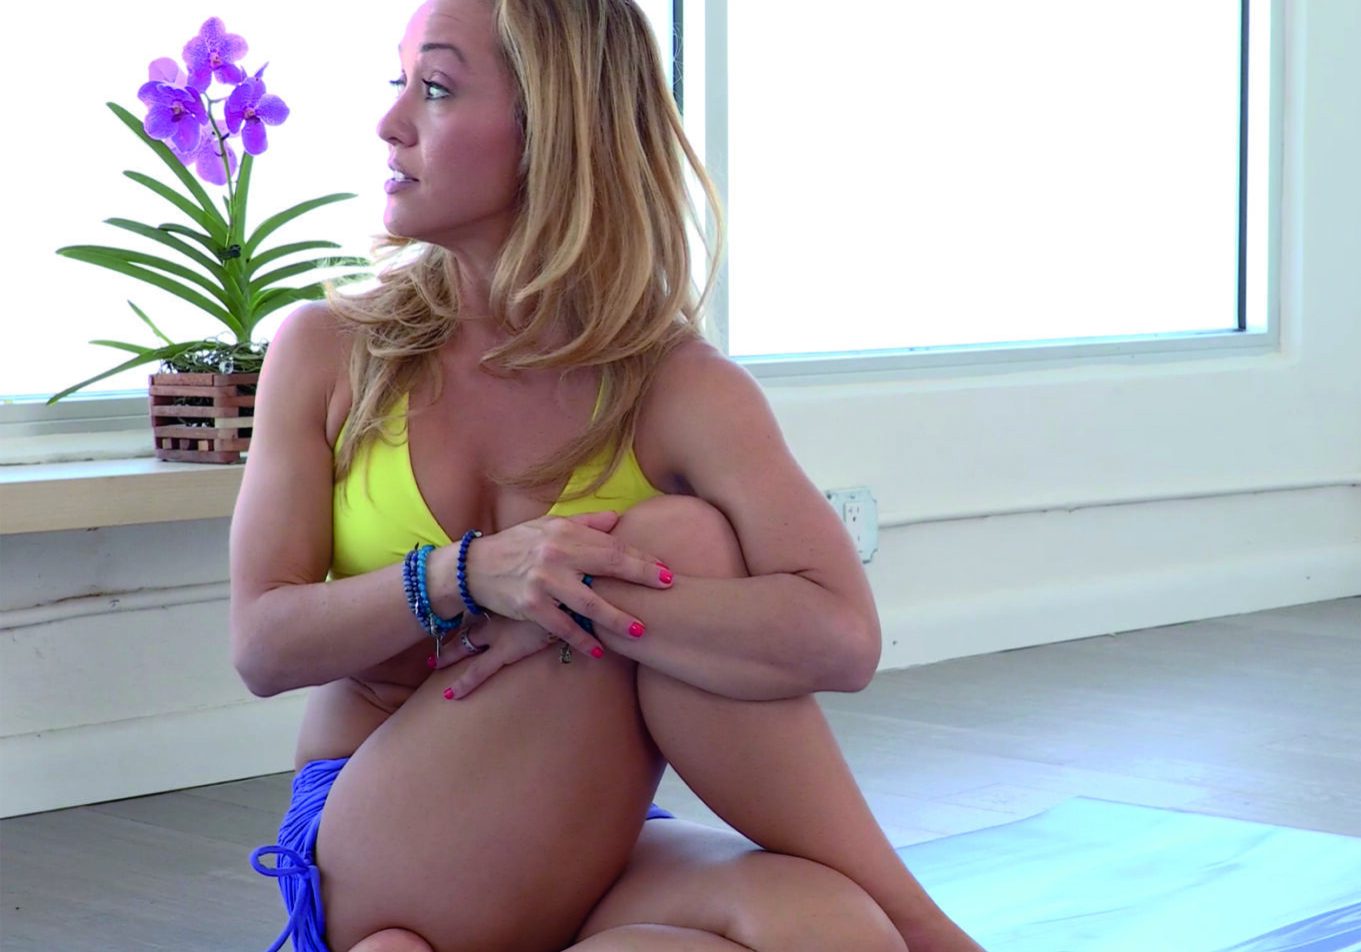
6. Modification 2
7. Modification 3
Remember the Journey
Remember that yoga is a journey into the centre of your self. Never judge yourself by the success or failure of your body to make a shape. We’re interested in the journey. So, regardless of what shape your body is able to make, dive down into the inner experience. And tune in to the power of the ancient tradition of yoga, which is really what this pose represents. Keep the seed of inspiration
to practice, every day.


